

Amputation fillers are custom additions to EVA or EnviroFoam orthoses that occupy the space left by a partial foot amputation, helping maintain shoe structure, support a more natural gait and redistribute pressure to prevent the remaining foot from shifting or rubbing. Partial foot amputations are a common consequence of advanced diabetic foot disease, often leaving patients with significant functional challenges that require orthotic intervention. This article aims to help practitioners in managing these complex problems by providing custom solutions that enhance patient mobility.
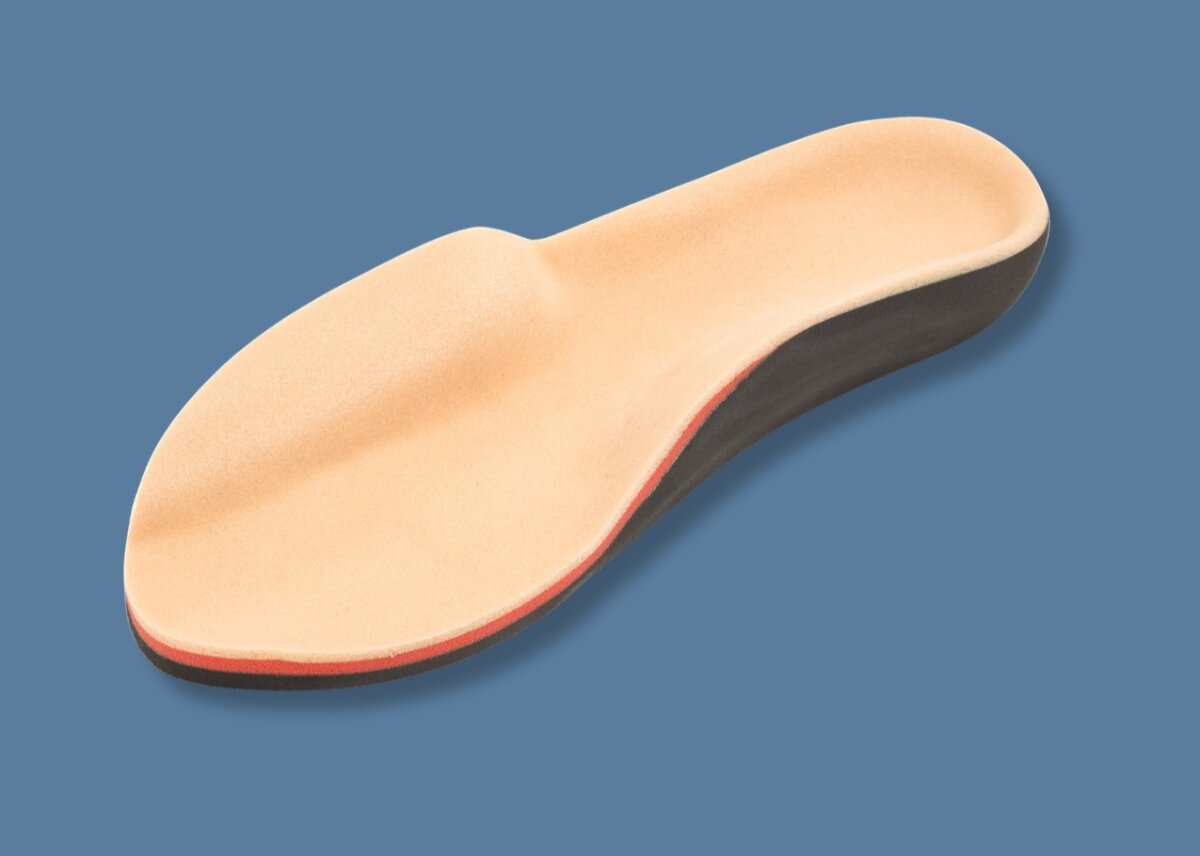
Below is an overview of the steps iOrthotics follows to order, design, and finish amputation fillers, demonstrating how your prescriptions are brought to life and how to achieve the best outcomes in everyday clinical practice.
Step 1: Scan
A good quality, partial WB (weight-bearing) scan and considered prescription is essential in ensuring a good orthotic outcome. It is useful to also provide images of the foot to give our team greater context.
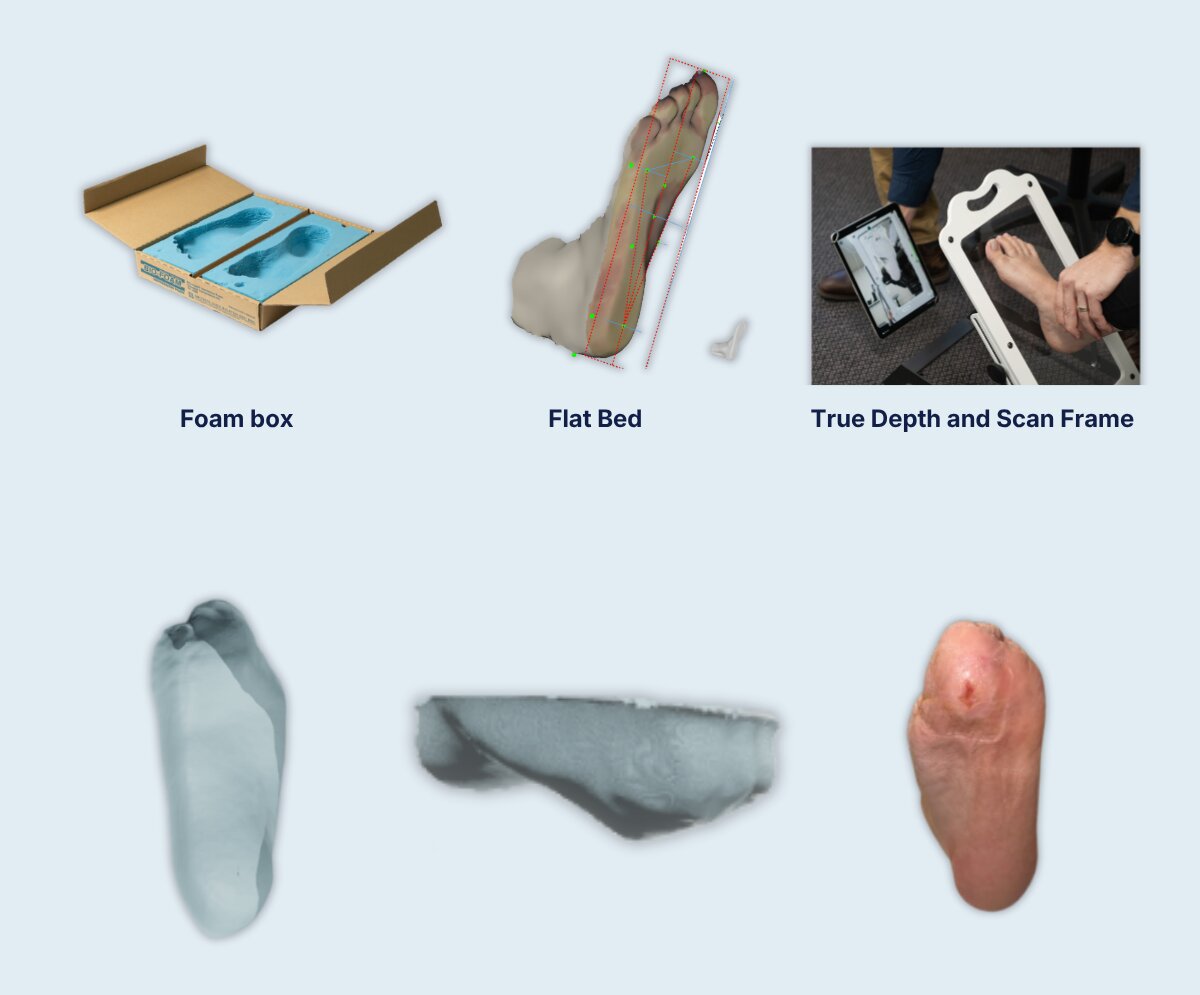
Examples of partial or semi weight bearing scans include
- Foam Boxes
- Laser Flat Bed Scanning
- True Depth scanning using a scan frame
Step 2: Prescription
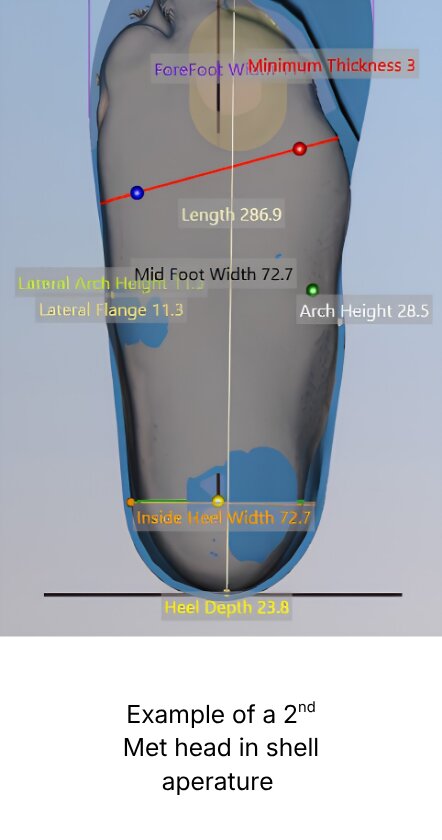
Anatomical Contact: Most of these patients benefit from an Accommodative Style foot orthoses to provide optimal offloading.
Additional Offloading: Additional offloading can be requested for bony prominences or pre ulcerative sites. Consider the base thickness of your orthoses when adding these. Common areas for additional offloading include prominent metatarsal heads, navicular cuneiform joint, MLA and Styloid Process. Ideally marking the scan and taking a photo will help in accurate positioning by the orthotic designers.
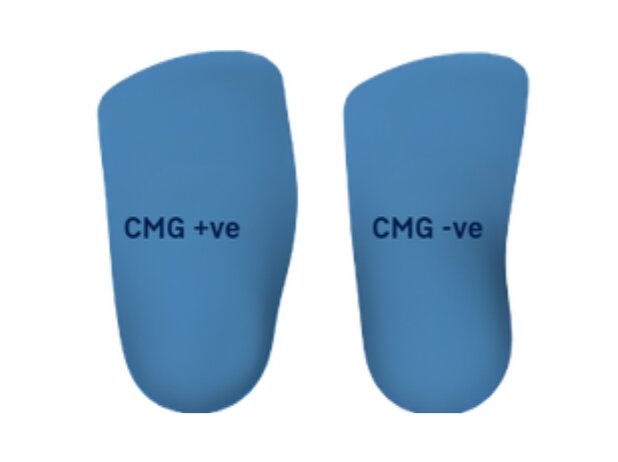 CMG +ve (medial flare):
Depending on the foot scan a medial or lateral flare can be used to match the shape of the foot. For cavus or met adductus foot types this is often a lateral flare and for pes planus foot types a medial flare is regularly indicated.
Space between amputation site and filler:
Our default will be approximately 10 mm. If you suspect greater space is required to accommodate for foot splay during gait, as well as selected cushioning and covers then please indicate this in the design notes.
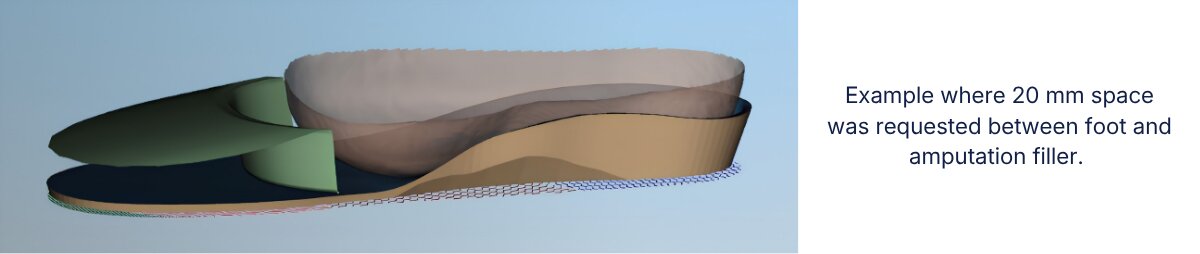
Design Approval: Due to the complexity of these orders, utilising design approval can help flag any potential fitting issues prior to manufacture.
Step 3. Design
Below are design instructions for our team to use when amputation fillers are requested from clinicians. This is also useful if you design your own orthoses using FitFoot 360 software.
Shape of Amputation Filler:
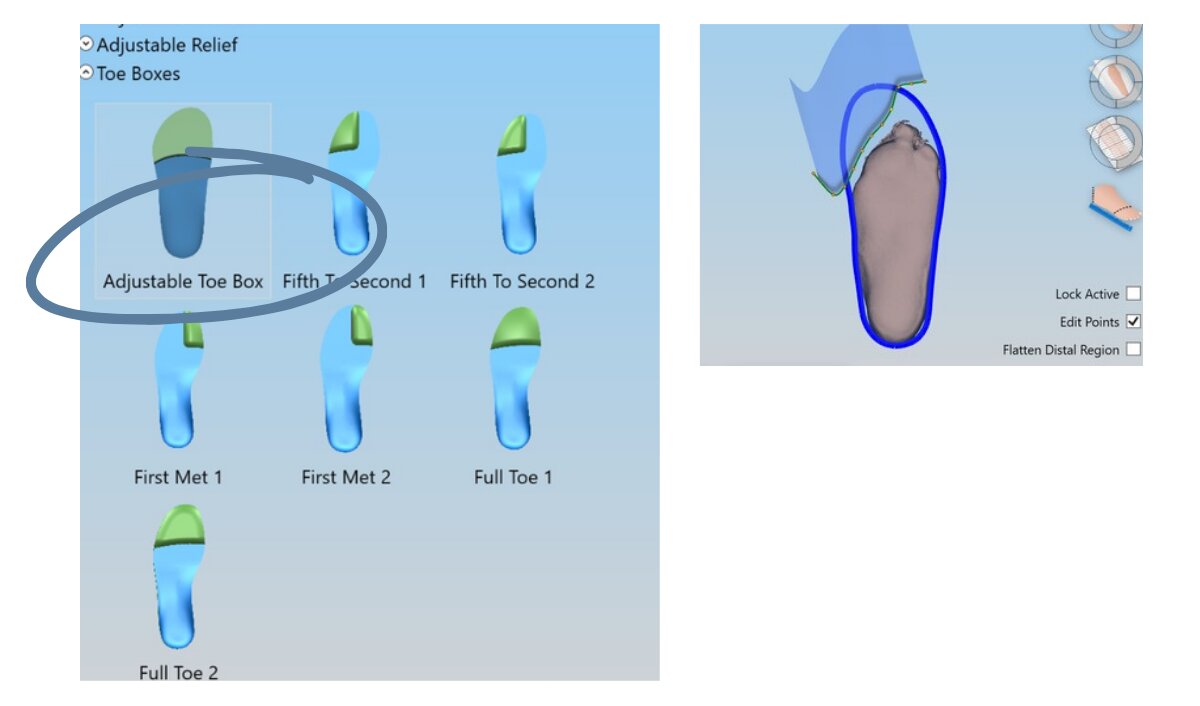
There are a variety of pre shaped fillers you can use under “Toe Boxes,ˮ however the adjustable toe box is most common and recommend as we can customise the shape of the filler to suit the individual patient. The adjustable toe box also allows for the height and taper to be adjusted, though in general this should not be adjusted.
Height, Leading and Trailing Edge:
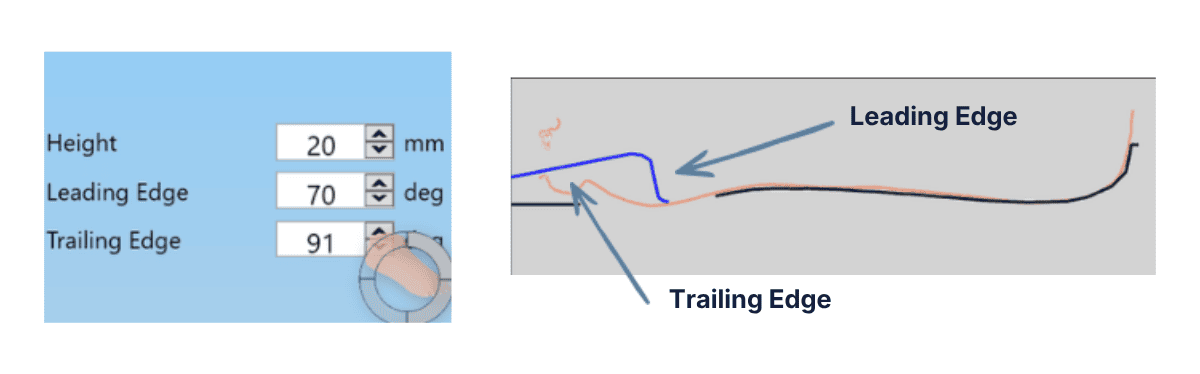
If the adjustable toe box model is selected, this allows modification of the leading edge, trailing edge and height. In general you should not need to adjust this much however please review the shape once “prescribedˮ. There should be a slight taper distally towards the end of the orthoses to reduce bulk and aid in shoe fit as well as a taper away from the amputation site “leading edgeˮ to avoid irritation during flexion in the shoe.
Measuring distance between amputation filler and foot:
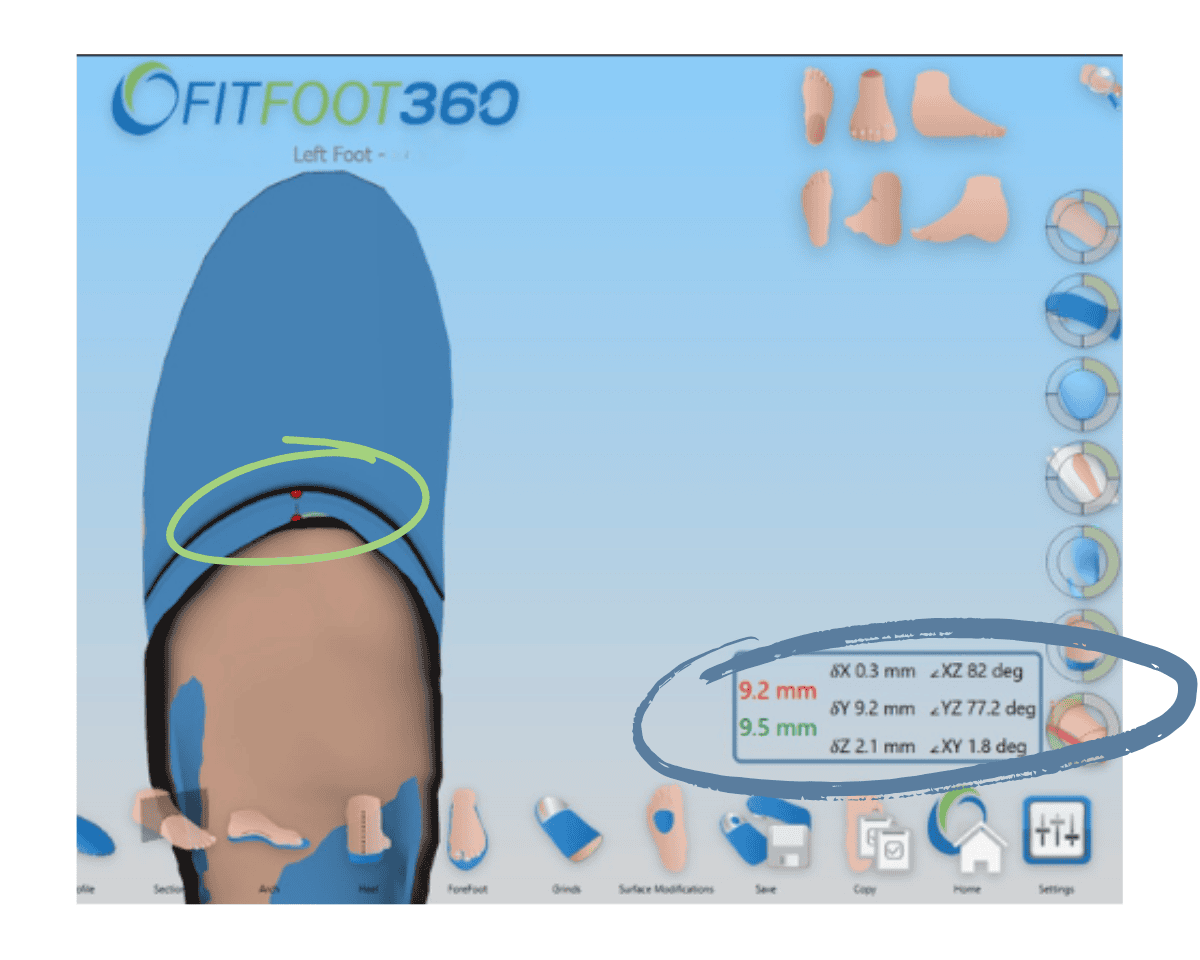
Our lab standard is to use approximately 10 mm space between the amputation site and the filler. Practitioners may request more or less based off their assessment of the patient. Measure using the tool below, please be aware this is not ideal for blocked scans.
Changing Density for EnviroFoam order:
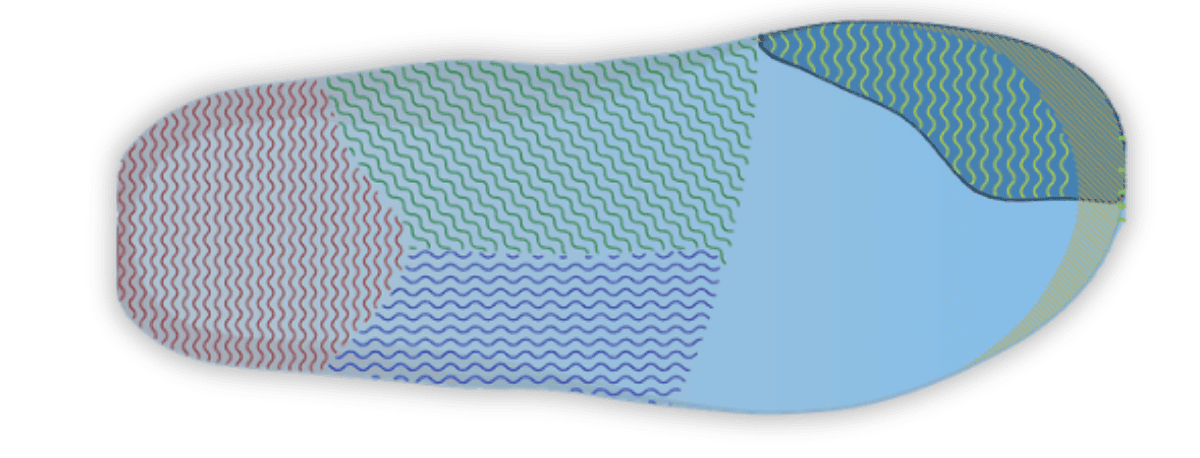
For EnviroFoam orders the default is to make amputation fillers “very soft density.ˮ This reduces print time, weight and density.
- Step 1. Select Density Zone: Pick the pre made FDM zone that suits the shape of the filler
- Step 2. Shape to the same size as filler: Click Edit Points to shape filler, by deselecting you can see if this matches with filler, unfortunately when editing points you will not be able to see the filler shape.
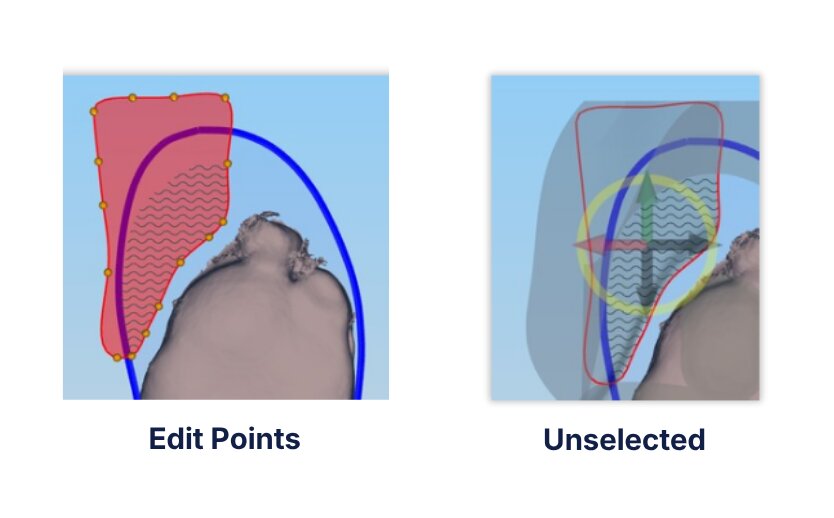
Step 3. Modifier: Taper angle should be set at 10 degrees and density zone 7. Very Soft Selected. The Rotation angle can be changed to represent different densities within the orthoses, however this has no functional impact.
Flagging Orders:
If one of our designers is unsure about an order they will flag it with our onsite practitioners. We will then be in touch if we have any follow up questions.
Step 4: Finishing
If you have the option to finish these complex orthoses onsite then that is highly recommended, or at least leaving the final top
Lab Standard Finishing:
Below is an example of our lab standard finishing and will vary depending on the individual prescription.
Step 1. Prepare the Orthoses for Finishing
This may include buffing the surface of EnviroFoam to remove any excess filament, or for EVA removing the border or any ridges from the milling process.
Step 2. Add any Cushioning layers or “Custom Add Onsˮ
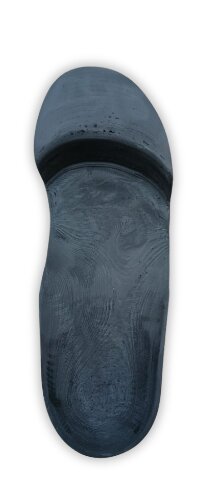
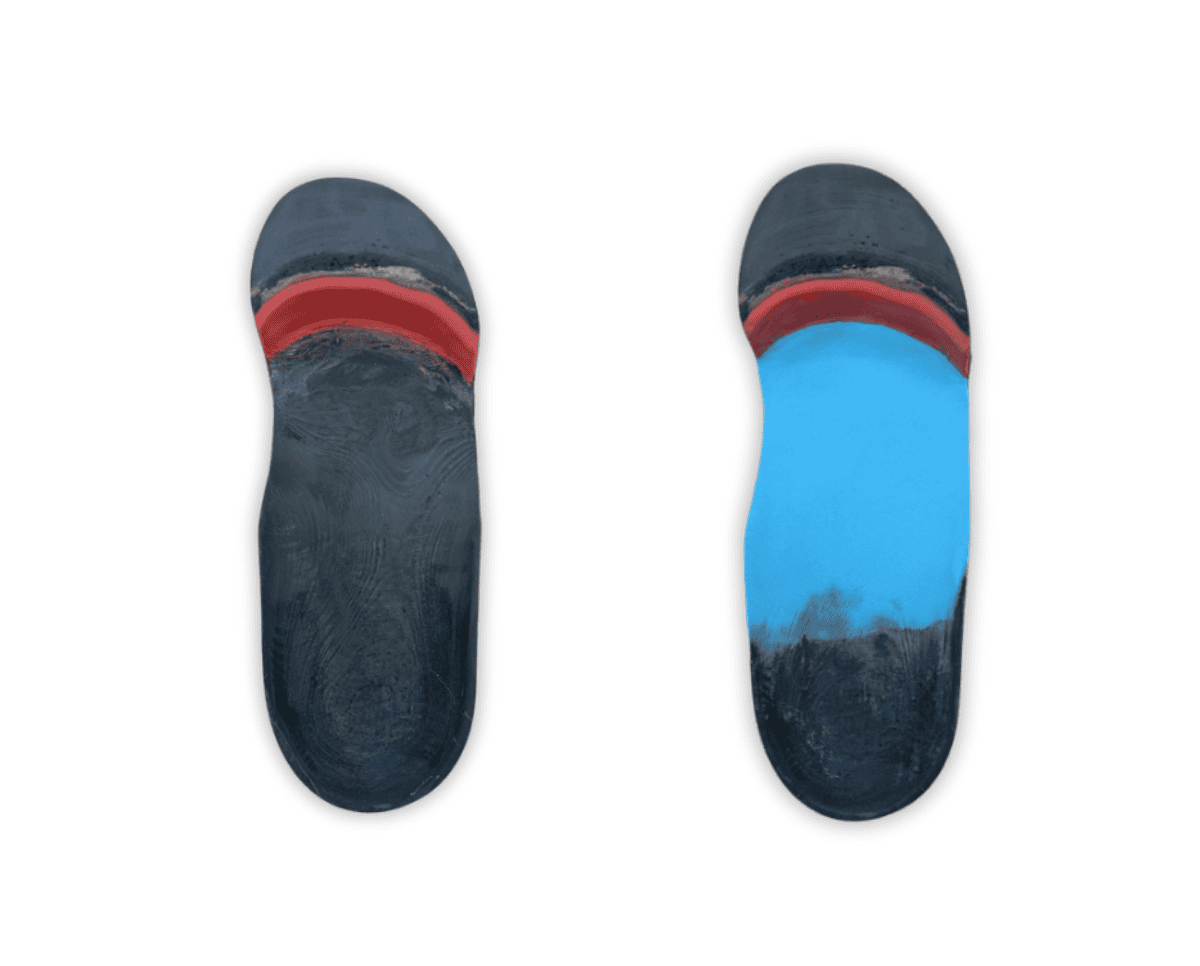
In this example Slow Release Poron to the amputation site was added as a custom add on, along with poron cushioning layer from distal heel cup. If only SRP cushioning layer is selected our default will be to wrap it against the filler edge. Please consider the effect of adding excessive cushioning layers as they will reduce the space between the heel and filler as well as reducing heel cup depth.
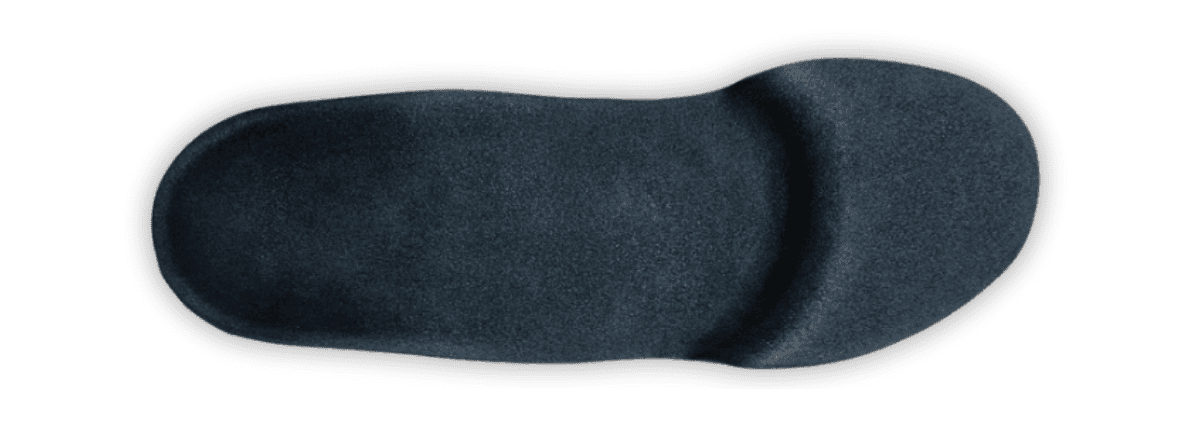
Step 3. Adding Top Cover
Final top cover is added extending over the top of the amputation filler cover off. This allows modification of the amputation filler with the patient during fitting.
Step 5. Fitting
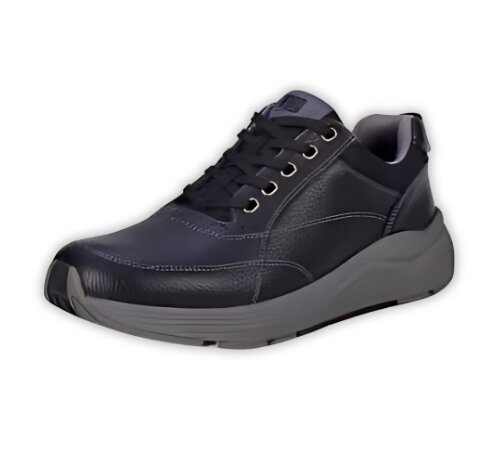
Footwear: These orthoses can be quite thick to provide adequate offloading and cushioning. Majority of patients will require medical grade footwear (MGF), modified MGF or custom footwear.
Modifications: Below are common modifications that can be performed in clinic during the filling consultation
Reducing dimensions (length and width) of the orthoses as well as increasing undergrind to match shoe last. The need for this can be reduced when using EnviroFoam by providing us the exact length, forefoot width and heel width in the design notes. We can also provide a shoe fit service if you sent the shoes to us at iOrthotics, Windsor – if utilising this we recommend saving the order as a draft until one of our onsite practitioners have reviewed the shoes and case.
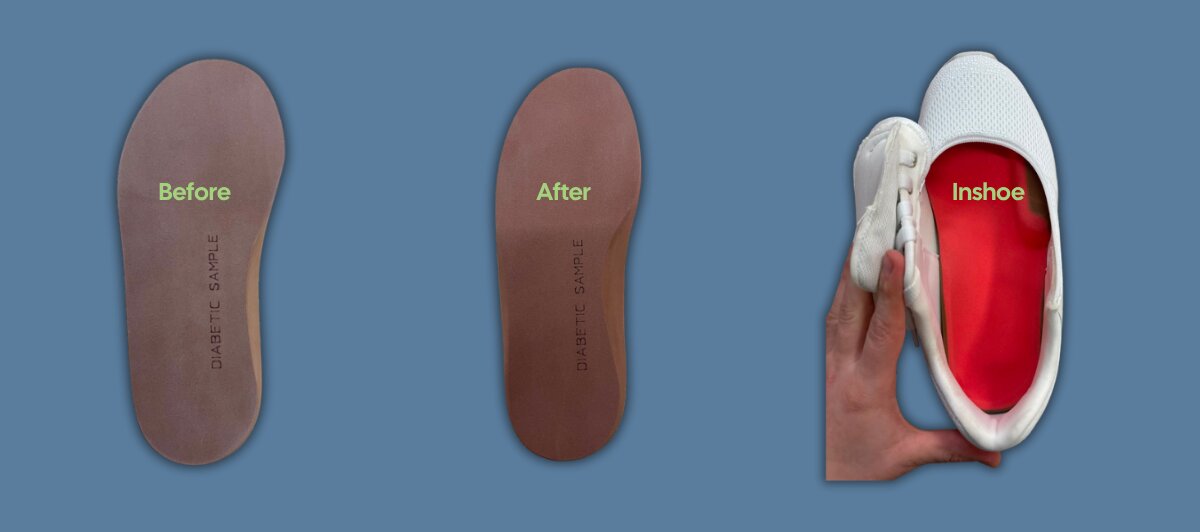
Reducing height of amputation filler to fit footwear depth at toe box.

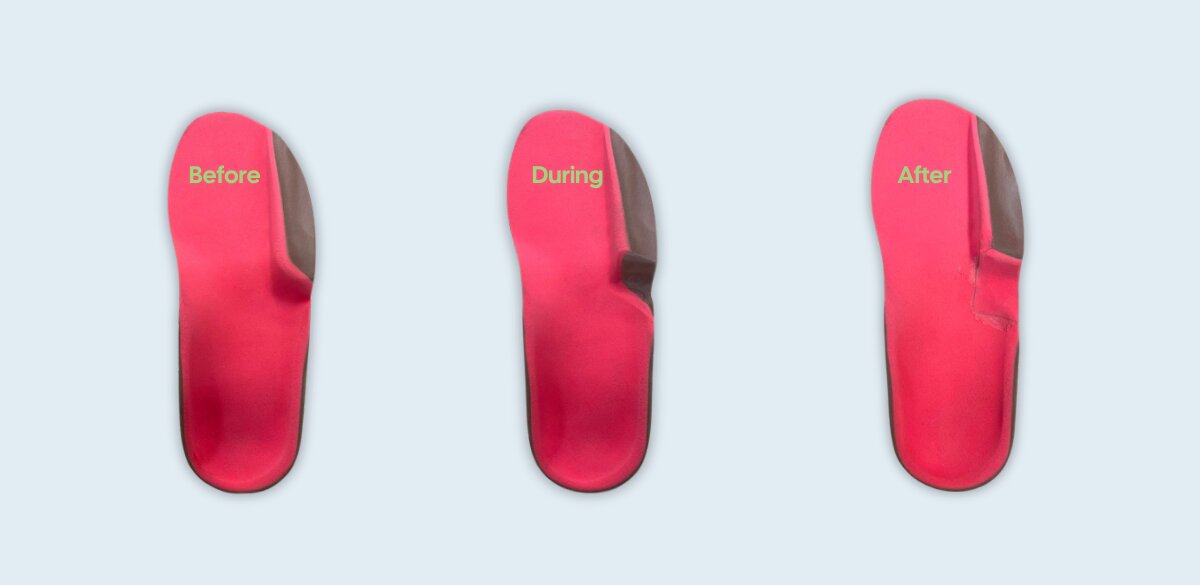
Increasing or decreasing cushioning against the filler. This is where a dremel comes in handy and why we recommend leaving the top cover off for application in clinic. In this example the 4/5th ray filler was reduced and patched with slow release poron before applying the final cover.
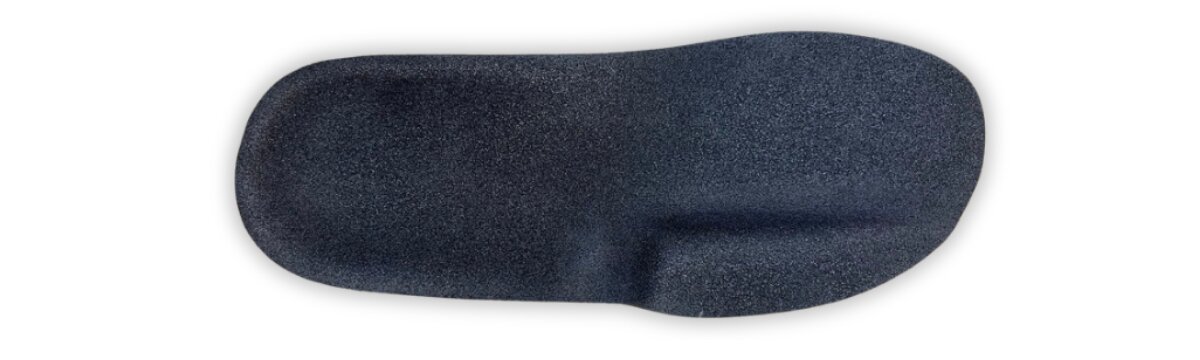
Key Prescription Take-aways
- For EVA Milled Orthoses the filler is designed and milled in the same density as the base orthoses.
- For EnviroFoam, very soft density infill is used by default despite the base density used.
- Scan need to be at least partially loaded.
- Consider thickness of covers and advise designers of how much space required between amputation site and filler.
- Recommended covers: Slow Release Poron (SRP) cushioning layer extending up the filler wall with Plastazote top cover
- Design approval recommended
